How to Set Up Your Ledger Wallet: A Simple Guide via ledger.com/start
When it comes to securing your cryptocurrency, using a Ledger hardware wallet is one of the most reliable and effective options. Hardware wallets provide a secure method to store your private keys offline, safeguarding your assets against online threats like hacking and phishing attacks. If you're ready to get started with your Ledger device, you've come to the right place. In this guide, we’ll walk you through the steps to set up your Ledger wallet via ledger.com/start, ensuring that your digital assets are secure from the get-go.
What is Ledger and Why is it Important?
Ledger is a leading brand in the world of hardware wallets, offering secure and trusted devices for cryptocurrency storage. The Ledger Nano S and Ledger Nano X are the most popular models in the Ledger range, and both are designed to securely store your private keys offline.
Private keys are essential for accessing your cryptocurrency and making transactions. If these keys are compromised, so are your assets. Hardware wallets like Ledger help protect your keys by keeping them offline, making it nearly impossible for hackers to access your funds remotely.
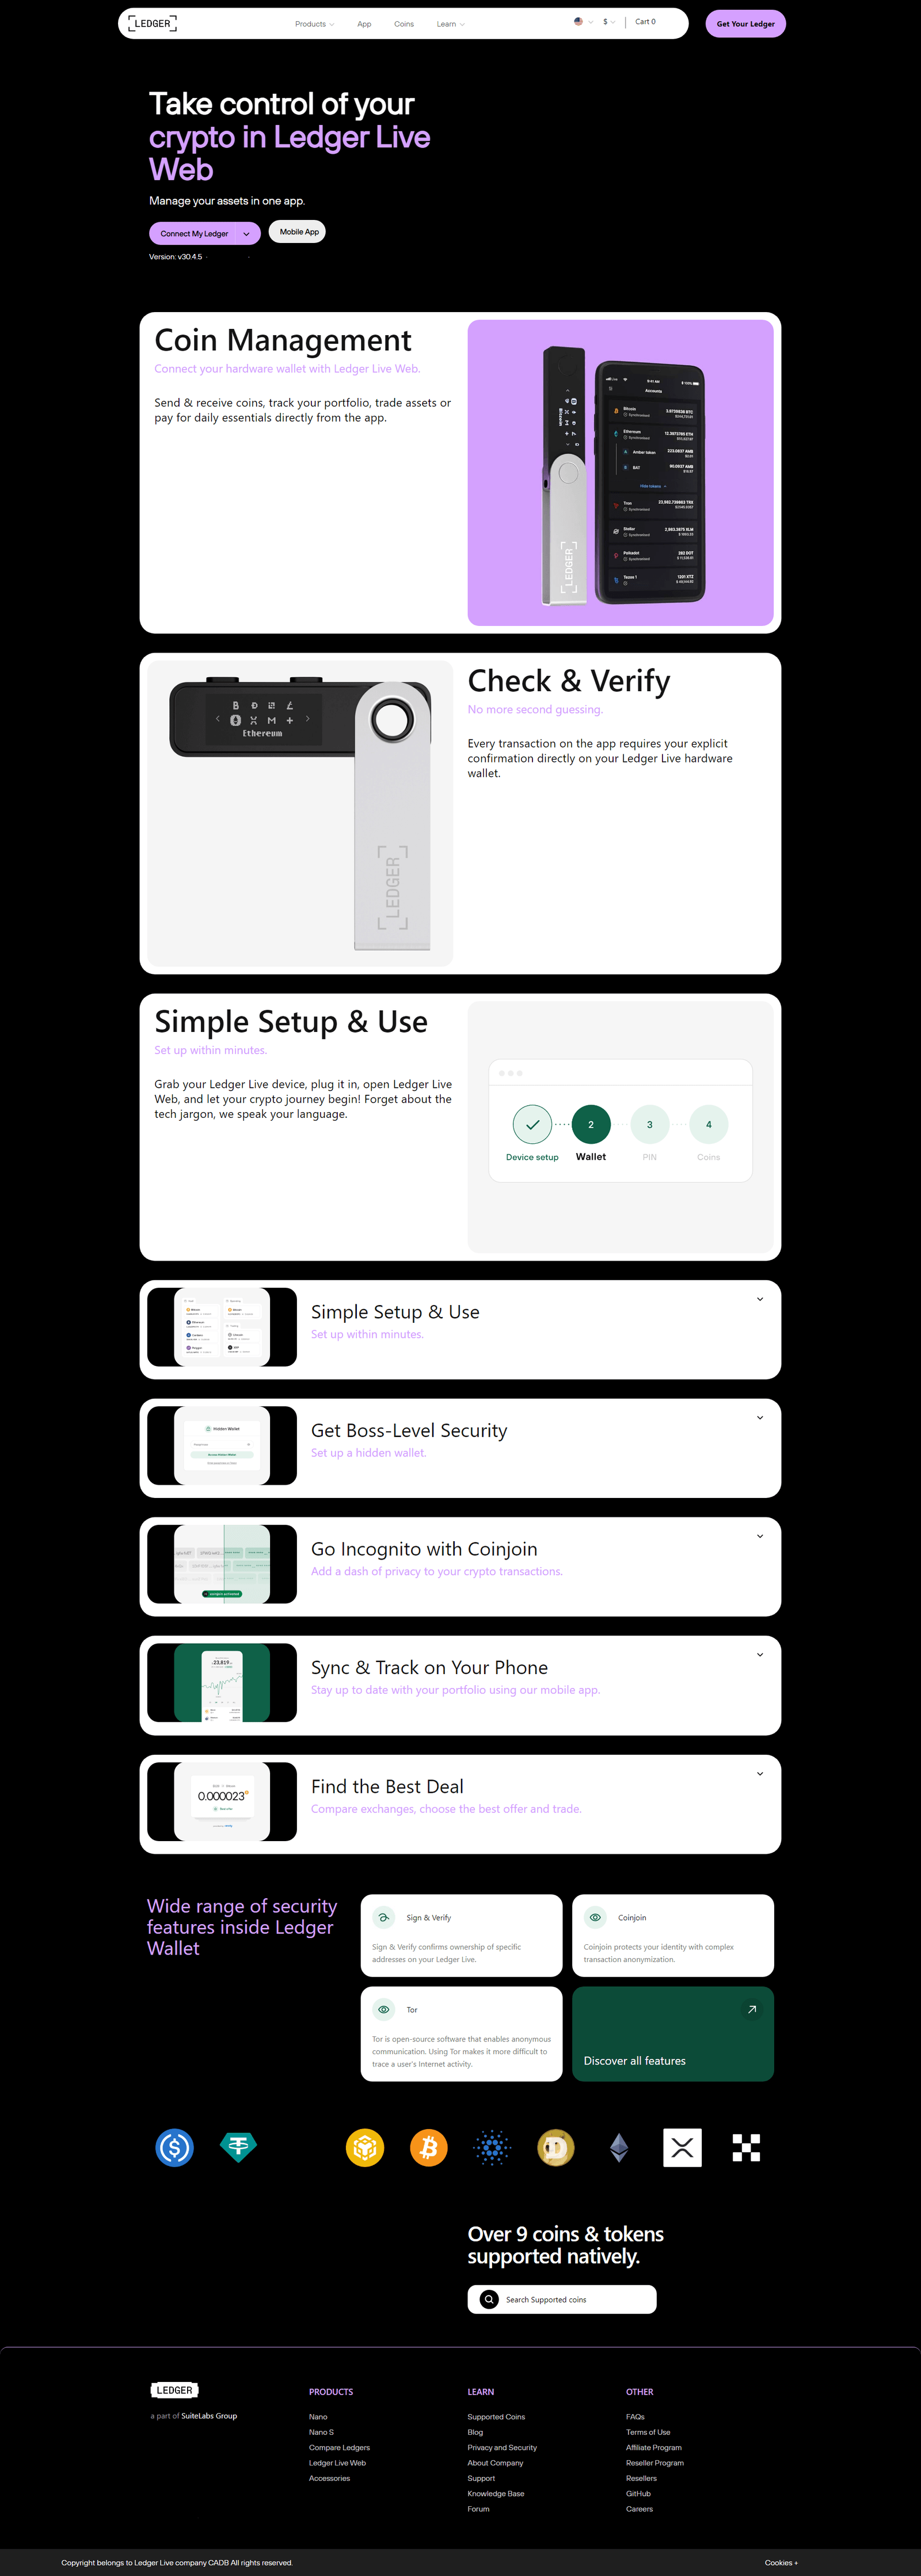
When you visit ledger.com/start, you’ll begin the simple setup process to get your Ledger hardware wallet up and running. Here’s a breakdown of the key steps involved in securing your crypto assets.
How to Get Started with Your Ledger Wallet
Setting up your Ledger device is easy and takes just a few steps. Let’s take you through the entire process:
Step 1: Download Ledger Live
The first thing you’ll need to do is download Ledger Live, the software that will help you manage your cryptocurrency assets securely. Ledger Live is available for Windows, macOS, and Linux, and can be downloaded directly from the ledger.com/start page.
Here’s how to get started:
- Go to ledger.com/start.
- Select the correct version of Ledger Live for your operating system.
- Download and install the software.
Ledger Live is essential for managing your Ledger wallet. You will use this application to monitor your crypto balances, send and receive transactions, and keep track of your portfolio in a secure environment.
Step 2: Initialize Your Ledger Device
After installing Ledger Live, the next step is to initialize your Ledger hardware wallet. Here’s how to do it:
- Connect your Ledger device: Use the provided USB cable (for the Nano S) or Bluetooth (for the Nano X) to connect your Ledger wallet to your computer or mobile device.
- Choose your language: Upon powering up your device, select your preferred language on the screen.
- Set your PIN code: Ledger will ask you to choose a 4-8 digit PIN code. This PIN will be required every time you access your wallet, so make sure to choose something secure.
- Write down your recovery phrase: Your Ledger wallet will generate a 24-word recovery phrase, which is crucial for recovering your wallet in case your device is lost or damaged. Write this down on paper and store it securely. Never store this phrase digitally.
Step 3: Install Cryptocurrency Apps on Your Ledger
Now that your Ledger device is set up, the next step is to install the necessary apps for the cryptocurrencies you plan to manage. Ledger hardware wallets support a wide range of cryptocurrencies, including Bitcoin, Ethereum, XRP, Litecoin, and many others.
To install the apps:
- Open Ledger Live and go to the “Manager” section.
- Connect your Ledger device.
- Browse the list of available apps and select the ones you want to install.
- Click “Install” to download the apps to your Ledger device.
Once you’ve installed the apps, you can manage your cryptocurrency securely through Ledger Live.
Step 4: Start Managing Your Cryptocurrency
With your Ledger hardware wallet and Ledger Live set up, you can now securely manage your cryptocurrency portfolio. Ledger Live provides a range of features to help you track your investments, send and receive digital assets, and more:
- View your balances: Monitor the balance of your cryptocurrencies directly from the Ledger Live dashboard.
- Send and receive transactions: Initiate secure transactions directly from Ledger Live. Your Ledger device will sign each transaction offline to ensure your private keys are never exposed.
- Swap and buy cryptocurrencies: Through third-party integrations, you can buy and swap various cryptocurrencies directly within Ledger Live.
- Track your portfolio: Ledger Live allows you to track the performance of your investments with real-time market data.
Why You Should Use a Ledger Hardware Wallet
The security of your cryptocurrency should be a top priority, and hardware wallets like Ledger are considered one of the safest methods to store your private keys. Here’s why:
1. Offline Storage for Private Keys
By keeping your private keys offline, Ledger hardware wallets protect your assets from online threats. Online wallets, such as software wallets or exchanges, are more vulnerable to hacking because they store your private keys on the internet. With Ledger, your keys are stored safely on the device, making them inaccessible to hackers.
2. Backup and Recovery
The 24-word recovery phrase generated during setup is your backup in case your device is lost, stolen, or damaged. This phrase is the only way to recover access to your funds, so it’s essential to store it securely.
3. Transaction Signing on the Device
Ledger wallets ensure that all transactions are signed directly on the device. This means your private keys are never exposed to your computer, smartphone, or online environments, adding an additional layer of security.
4. Multi-Currency Support
Ledger hardware wallets support a wide range of cryptocurrencies, from Bitcoin and Ethereum to lesser-known altcoins. Whether you’re a Bitcoin enthusiast or a DeFi investor, Ledger has the tools to securely manage your assets.
Additional Security Tips
To further enhance the security of your Ledger hardware wallet, here are some best practices:
- Store your recovery phrase offline: Never store your recovery phrase digitally. Write it down on paper and keep it in a safe place.
- Use a passphrase: For extra protection, you can add a passphrase to your wallet. This is an optional but highly recommended feature that adds a layer of security on top of your PIN.
- Update firmware regularly: Ledger frequently releases firmware updates to improve security and performance. Ensure your device’s firmware is up to date.
- Be cautious of phishing attacks: Always double-check that you’re on the official Ledger website and never share your recovery phrase or PIN with anyone.
Alternatives to Ledger: Trezor Hardware Wallet
While Ledger is a top choice for many cryptocurrency users, Trezor is another popular hardware wallet provider. Trezor hardware wallets, such as the Trezor Model T, also offer secure, offline storage for private keys. Both Ledger and Trezor are excellent choices for safeguarding your digital assets, and the decision between them comes down to personal preference.
If you’re interested in exploring Trezor hardware wallets, you can visit Trezor.io.
Conclusion
Setting up your Ledger hardware wallet via ledger.com/start is the first step toward securing your cryptocurrency assets. By following the simple steps outlined above, you can protect your digital wealth from hackers and other online threats. With Ledger Live, managing your crypto portfolio has never been easier, and with additional features like transaction signing on the device, you can have peace of mind knowing your assets are safe.